Describe portrait lighting without overcomplicating the prompt
Use direction, softness and background separation to create a clearer portrait brief.
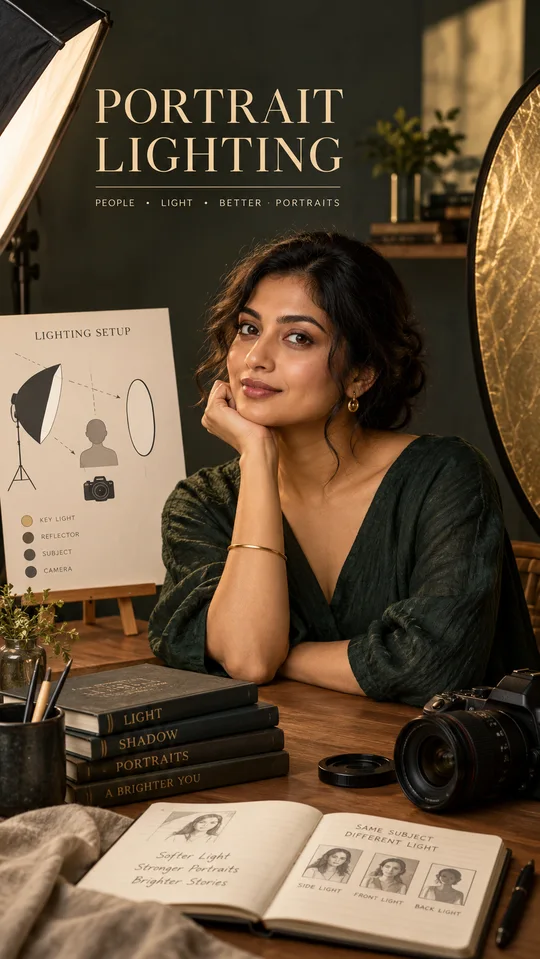
Portrait prompts often become a pile of camera terms with no clear lighting plan. Start with what the viewer should see: the face, expression and relationship to the background. Work with a fictional adult subject or a reference photograph you have permission to use.
Choose the light direction
Front light creates a relatively even face; side light emphasizes shape. Describe where the main light comes from in relation to the subject. “Large window to the subject’s left” is easier to interpret than a list of unrelated lighting styles. Specify whether the other side should stay softly filled or fall into deeper shadow.
Set the framing and expression
Choose a head-and-shoulders view, waist-up portrait or full-body frame. Ask for a natural expression and relaxed posture if that fits the task. Keep hands out of a tight portrait unless they are important. Leave room above the head and avoid placing key details near the crop boundary.
Try this prompt
Editorial waist-up portrait of a fictional adult woman in a plain dark-green shirt. She faces the camera with a relaxed expression. Soft window light from her left, gentle fill on the shadow side, neutral warm-gray background. Natural skin texture and believable proportions. Keep the head and shoulders fully visible. Avoid heavy beauty retouching, exaggerated blur and decorative accessories.
Diagnose the result
If the face looks flat, change the light direction before adding more style words. If skin looks plastic, reduce smoothing instructions and ask for natural texture. If the subject merges into the background, change the background tone or request subtle edge separation. These are separate adjustments; testing them individually makes the result easier to understand.
Review at two sizes
Inspect the full-resolution face for mismatched eyes, teeth and hair boundaries. Then view the image at the actual thumbnail size. A technically detailed portrait can still fail if the face is too small. Keep the original uncropped image and create a separate crop for each placement.
Put the idea into practice.
Find a starting point in the prompt library and adapt it to your task.
Explore prompts →