Multi-Character Face Swap Prompt for Gemini | AI Prompt King
Try a three-character video edit in Gemini Omni with clear photo-to-role assignments, a copyable prompt, and practical checks for faces, motion and continuity.
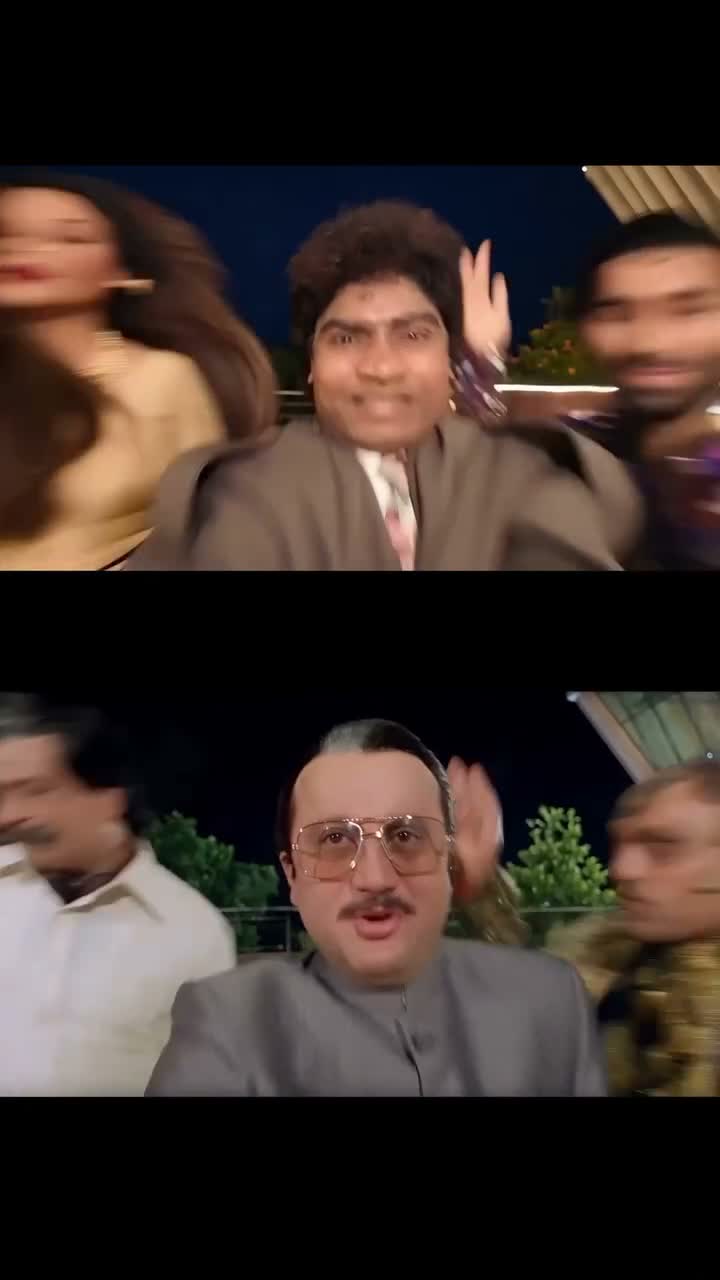
Illustrative cover; not a verified result from this prompt.
Read the full prompt
Edit the uploaded source video using the three attached identity photos. Use the video as the sole reference for the scene, shot order, actions, expressions, camera movement and timing. Photo 1 defines Character A: [identify the first target by their clothing and opening position]. Photo 2 defines Character B: [identify the second target]. Photo 3 defines Character C: [identify the third target]. Follow each character across every shot; these labels refer to persistent roles, not fixed screen positions. Replace each target's facial identity with the assigned reference while retaining natural head movement, expressions and believable neck-to-face transitions. Keep the three identities distinct. Preserve the source clothing, bodies, background, props, lighting and action unless a specific change is requested. Match the new faces to the scene's perspective and lighting, with stable facial features through head turns and brief occlusions. Do not blend identities, duplicate people, swap roles, redesign the background or introduce new dialogue. Keep the source framing and duration where the video workspace supports them. If a target is temporarily hidden, restore the same identity when they reappear. Keep existing non-target people unchanged. The output is an openly presented AI edit. Do not add titles, subtitles or promotional overlays.
Turn a short three-person scene into an AI character-edit experiment with explicit photo-to-role assignments. This guide provides a copyable starting prompt, the required input preparation, and checks to make before downloading.
The preview image is a frame from the supplied example clip, not a new result generated or tested for this guide.
Find this prompt
Search AI Prompt King for Multi Character Face Swap. You can use aipromptking.in directly, or open the APP LINK on @rahulgaur3d's Instagram profile to find the AI Prompt King Android listing. The website route does not require installing the app.
What this prompt is for
This guide explains how to request a three-person identity edit while keeping a short scene recognizable. It is a starting prompt, not a promise of a perfect face swap. The workflow for this article is based on Google's Gemini Omni documentation; this episode's personalized result has not yet been generated or tested.
Prepare the source clip and three photos
Choose a short clip with three clearly distinguishable targets. Upload the scene itself rather than an entire tutorial with presenter shots, phone frames and captions. Use clear photos of your own characters or people whose images you are authorized to use. One person per photo makes assignments easier. Avoid choosing three nearly identical faces. Name the files Photo 1, Photo 2 and Photo 3 for your own tracking; typed labels alone do not attach a file.
Open the video creation workspace
In Gemini, open the sidebar and choose Create video. Google's current documentation describes uploading one video and up to five images, so three identity images fit within that stated input count. For a personal account the feature requires a Google AI plan, and availability depends on the account and region. Verify that video editing is available in your signed-in workspace before following the generation step.
Map each photo to a persistent role
Before submitting the master prompt, replace every bracketed instruction with a visible description. For example: Photo 1 replaces the foreground person in the grey jacket; Photo 2 replaces the person in the white shirt; Photo 3 replaces the person in the patterned jacket. These are illustrative labels, not fixed casting for every source. If a character changes sides of the frame, their assigned photo must still follow the same character.
Generate, inspect and download
Submit the prompt in the video workspace and wait for generation to finish. Do not assume the edit will be instant. Play the whole result and check each face at the start, during head turns and at the end. Check that the same person keeps the same role, the background remains coherent and hands do not distort near faces. If one role fails, request a focused correction naming that character. Download the completed result using its download option. Exact motion, face similarity, duration and source-audio preservation are not guaranteed by a prompt.
Keep audio and branding under control
The tutorial voice should be your own recording or your chosen synthetic narrator, not an imitation of the reference creator. If exact source sound is essential, keep an authorized copy for the final edit and verify synchronization. Add your own tutorial captions and Rahulgaur3D branding in the editor, keeping AI Prompt King as the prompt destination. Clearly present the demonstration as an AI edit.
Why does one character keep changing?
The source may contain blurred profiles, occlusions, rapid cuts or ambiguous role descriptions. Tighten the target description, use a clearer reference photo, or test a shorter section. A broad instruction such as replace everyone with these photos gives the model too little information about who should become whom.
Can I paste this in a normal chat and expect a finished video?
Use the actual video-generation workspace supported by your account. A chat that can understand an uploaded clip is not, by itself, proof that video generation or editing has run. Show a finished output in your tutorial only after generation has actually completed.
Face identity or full character replacement?
The main prompt focuses on changing facial identity while preserving the original bodies and clothing. A reference example may also change the hairstyle, silhouette or costume. If that is the intended result, explicitly request full appearance replacement for that role using the supplied photo, while preserving the source action and staging. Only infer details missing from the photo, and inspect human anatomy and movement carefully. Do not assume a face-only prompt will reliably reproduce a full character transformation.
Before you press Generate
- Remove every bracketed placeholder from the copied prompt and replace it with a visible target description.
- Attach the source scene and three photos using the actual upload controls.
- Check that Photo 1, Photo 2 and Photo 3 refer to three different persistent roles.
- Confirm that you are in a video-generation or video-editing workflow with available access.
- After generation, watch the complete result rather than only the opening frame.
Sources
Google Gemini Help: https://support.google.com/gemini/answer/16126339?hl=en-IN
Official workflow documentation checked on 27 October 2026. Interface options and availability can change. This guide does not claim a tested personalized output.